
I do love baking and today lots of catering equipment I ordered came so I was in a mood to bake! I also organised my entire baking cupboard and I am really happy with it!!
Now I have made this recipe before and it's Cupcake Jemma's recipe (for those of you who don't know she makes amazing cupcakes/cakes- she also has a YouTube channel and a shop "Crumbs & Doilies" in London.
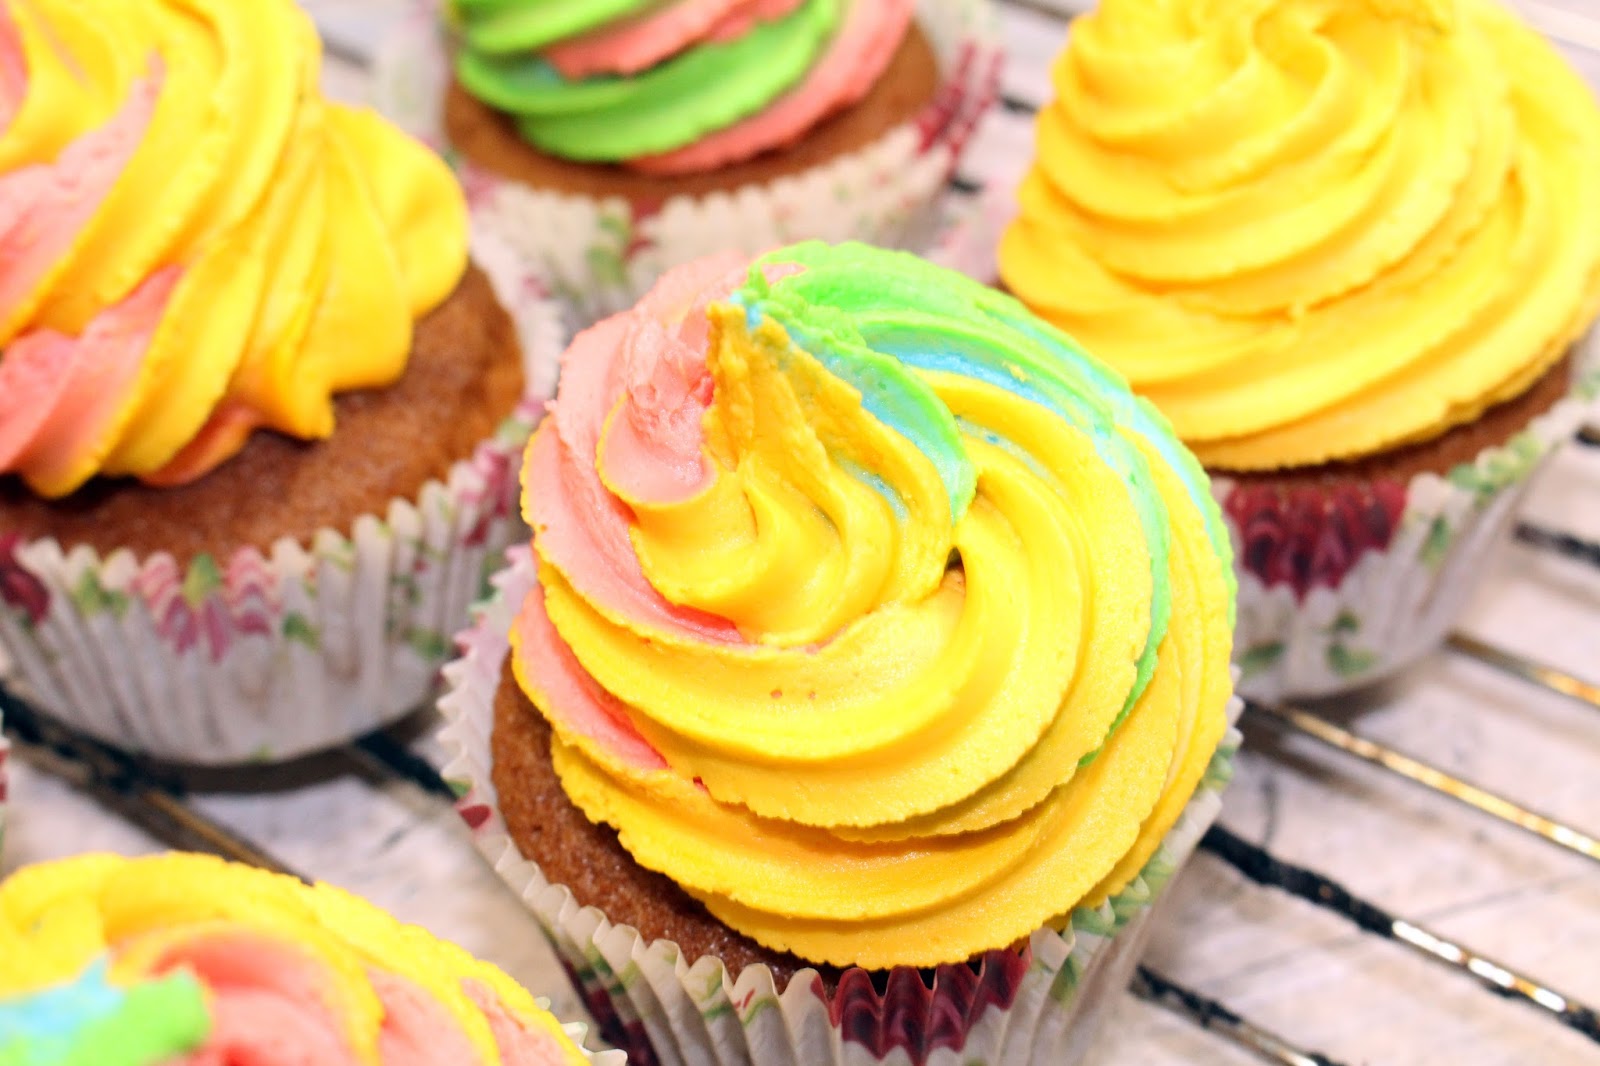
Instead of just using plain vanilla icing and because we're getting near Pride - I thought I'd jazz it up a bit with some rainbow colours. Now I used food colouring paste (which is really strong and a little goes a long way), I find using food colouring that you need to use a lot and its very watery and this makes your buttercream runny too which isn't good. I bought my pastes online for about £5 I think it was Amazon I got them from. You can also get them from Lakeland too (which is like a food/catering shop in the UK).
Now on with the recipe:
Ingredients (cupcake batter):
125g self raising flour
125g caster sugar
1/4 teaspoon bicarbonate of soda
125g soft, unsalted butter (very soft!!)
2 large eggs
1 1/2 tbsp milk
1/4 tsp vanilla extract
Method:
1. Preheat the oven to 170°C and line a cupcake/muffin tray with 12 cases.
2. In a sieve over the mixing bowl - add the flour, caster sugar and bicarbonate of soda and sift them.
3. Add 125g of butter.
4. Add 2 large eggs.
5. Start the mixer on a low speed until everything is just mixed and then turn up to medium to high for 1 minute.
6. With the mixer on a low speed add the milk and vanilla extract.
7. Put the mixer back up to medium to high speed for one last blast (about 30 seconds).
8. Stop the mixer, remove the paddle and get as much batter off as you can. Scrape the sides with a spatula and give a final mix with the spatula to catch anything missed by the paddle at the bottom.
9. Using a dessert spoon and teaspoon scoop the batter into the cupcake cases
10. Bake for 22 minutes in the pre-heated oven. Check with a skewer - it should come out clean.
11. Leave in tray for 5-10 minutes and then transfer to a wire cooling rack.
Ingredients (buttercream icing):
200g very, very soft butter
450g sifted icing sugar
2 tbsp milk
1/2 tsp vanilla extract
food colouring paste
Method:
1. Add the butter to a mixer and beat for 5 minutes on a medium to fast speed.
2. The butter should now look very pale (edging on white) and be fluffy.
3. Add half the icing sugar to the bowl with the butter and start the mixer on a low speed.
4. Once its incorporated turn the mixer up to medium speed and beat for 2-3 minutes.
5. Add the last half of the icing sugar and again start on slow, then once mixed together, increase speed to medium and beat for another 2-3 minutes.
6. Turn down to a low speed and add the milk and vanilla extract.
7. Turn back up to a high speed for 1-2 minutes.
8. Divide the mixture evenly between 3-4 bowls
9. Using a cocktail stick get some food colouring paste - with the colour of your choice and add each colour to each bowl and mix until you have the desired colour.
10. Get the piping bag, pop your nozzle in and cut the end off and then 'splodge' each colour down one side of the bag (warning: this gets messy and fiddly).
11. Pipe away ...


Now depending on what colour you splodged first the first couple of cupcakes may just be one colour with a hint of another - I had a few yellow ones before the other colours started to come through - but still they looked great!
I do think my icing could have been a bit softer - this is easy to fix and just requires a little bit of milk - or more milk if you added it when mixing the buttercream up.
Let me know what you think in the comments below.


